Showing posts with label red. Show all posts

Thursday, December 12, 2019

Happy Holidays & Season's Greetings

Happy December!

Today, I present to you my 2019 holiday art designs.


I was inspired by folk art and cut-out paper snowflakes that I often see around the holidays.


I completed most of the design work in Adobe Illustrator and then added the finishing touches of digital foil effects in Photoshop.


I ended up printing my postcards with Moo and using their gold foil customization option. I printed 5 different colour versions and was very happy with the results!

(In the version I sent in for print, I did not have the digital foil effect on the tree)


If you'd like to try printing with Moo, you can get 20% off your first order with this {referral link}.


Prints are merchandise are available through my online shops below:


Happy Holidays!


Resource Credits

Typeface: "Amazinga": https://creativemarket.com/ianmikraz/66045-Amazinga-Typeface
Textures:
Foil & Glitter Texture: https://creativemarket.com/Imagearea/1662530-Foil-Glitter-Texture
Gold Foil Textures, Gold Backgrounds: https://creativemarket.com/PaperElement/194964-Gold-Foil-Textures-Gold-Backgrounds

Tuesday, October 29, 2019

Halloween Cosplay - Aja Tarron

Hi,

Unfortunately, I've not had much time to do any painting, but I did get a chance to be a little creative recently testing out this year's Halloween costume.

I've decided to go as Aja Tarron (in her human form disguise) from the animated series 3Below.

Watching the show was fun and I really liked her outfit so I decided to go for a little cosplay after coming across a similar plaid shirt-dress at a store. I've also wanted a pair of red Converse high tops for a while, so I finally bought those.
I already had a white wig, so I styled and trimmed it to try and match match her bun up-do.
I decided not to get blue contact lenses because I wasn't sure they'd arrive in time and I was worried about them irritating my eyes, so I just made my eyes blue in Photoshop. I also gave the eyes a little (+35%) enlargement in Photoshop, and made some softening adjustments to my facial features to to match the character more.
I wasn't sure how to tackle making my eyebrows white and tried to achieve the effect with foundation and concealer, but that didn't make them light enough. I'll have to watch some tutorials and try something new next time. Though, I do personally prefer for the eyebrows to be a little darker than the hair.

Till next time Internet, and hope you have a lively Halloween!

Friday, May 30, 2014

Freebie Friday - Fanciful Florals 2

Happy Friday!

Here are more floral textile textures for today's resource sharing post. Part two to the original Fanciful Florals collection. Enjoy!


Feel free to use these resources for personal or professional projects but please:

Do not claim the original resource images as your own,
Do not redistribute commercially. Basically, don't save and sell the resources as your own, but by all means do share the link to this page with others. :)
Do not use these textures as a base to create your own stock art/resources.

And, as always, please feel free to share anything you've made with these resources with me. I'd love to have a look! =)

Previous Freebie Friday posts:

Stained Coffee Textures
Freebie Friday - Layered Lace Textile Textures
Colourful + Abstract Textile Textures
Branches, Berries and Blossoms
Blue Pattern Textile Textures
Black and White Textiles (part 3)
Black and White Textiles (part 2)
Black and White Textiles (part 1)
Coffee Stained Paper
Fanciful Florals
Vintage Inspired
Green
Red
Denim

Have a great weekend!

Friday, April 26, 2013

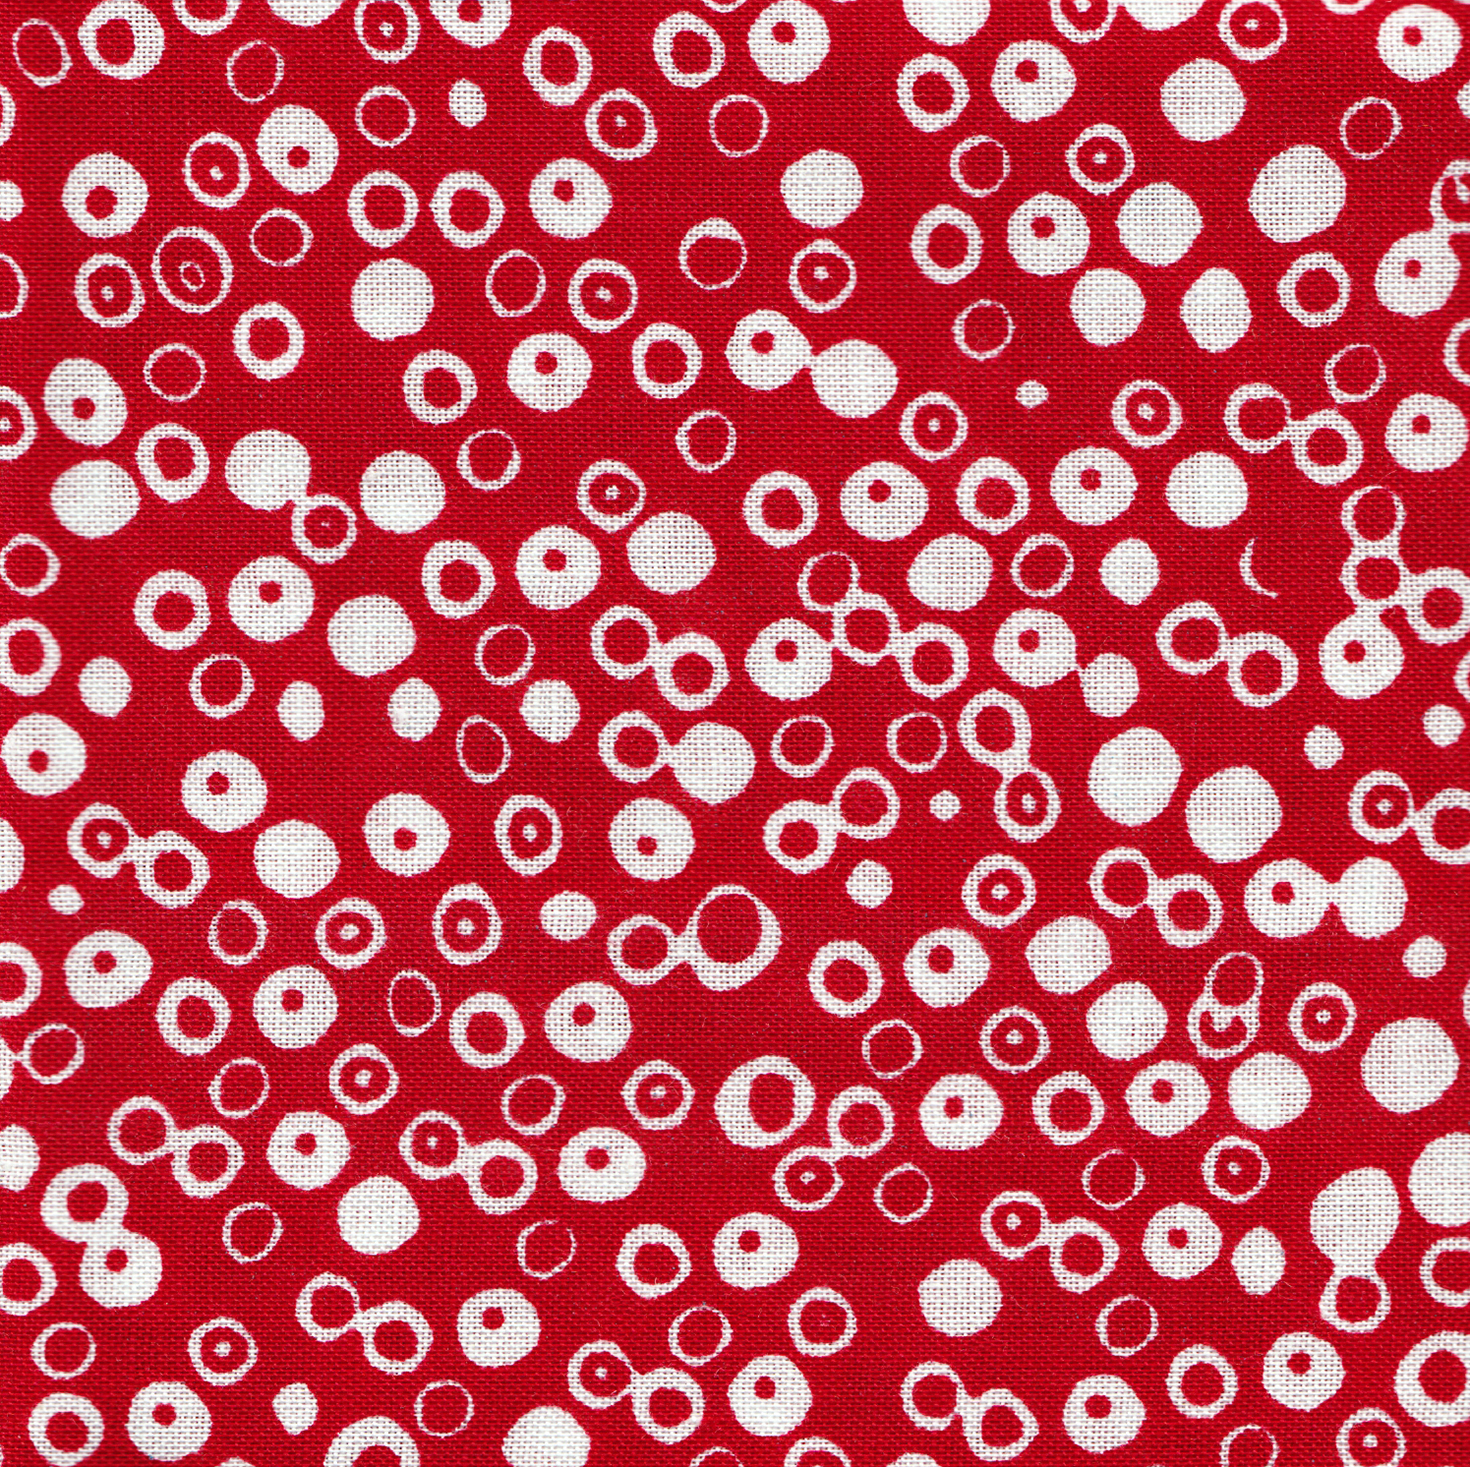
Freebie Friday - Red Pattern Textile Textures

So, textile resource sharing continues!

This week I have a set of red fabric patterns available:


You can also grab the whole set from a zip folder on my {deviantart page}

Again, feel free to use these resources for personal or professional projects but please:

Do not claim the original resource images as your own,
Do not redistribute commercially. Basically, don't save and sell the resources as your own, but by all means do share the link to this page with others. :)
Do not use these textures as a base to create your own stock art/resources.

And, I'd love it if you shared anything you've made with these resources with me. I'd love to have a look! =)

Cheers!

Sunday, March 24, 2013

The Nessie Award

Hi! Oh look - something not on paper!


Today I'll share my feeble attempt at making a 3D toy for a recent assignment. We were given 3 wooden parts - a rectangle, a rod, and a ball and we had to come up with a character and make a toy. We could change the parts and add to them as we saw fit. Imagination and skills were the limit. And Amanda Visell an Michelle Valigura were our class mentors, if the project wasn't daunting enough.

The way I went about this project though is by staying faithful to the given parts and letting them help dictate my character. (I'm also not that great with using my hands, and I'm quite weary of power tools. But I honestly did like the approach of keeping my original shapes somewhat candid)

At first I came with with some creatures like an ornately patterned giraffe, a fancy ostrich, a Loch Ness monster and a 'dragon-fly'.


Then I decided to go with the Loch Ness monster idea and sketched out some variations of what it could look like:

I picked the Celic Nessie. Surprise, surprise, as I have a deep fascination with the Celtic and Nordic cultures and art.
I also thought that by going with this option I could make up with painting knot-work that which I lacked with carving and molding. And if there were flaws they would actually work with the theme. You know -- if something was hand-made a long time ago, it's bound to have some bumps and scratches right?

So in the end I ended up with this, as I've posted at the beginning:


I give you my interpretation of the Celtic depiction of the fierce Loch Ness Monster, immortalized as the "Nessie Award".  Each year all the Celtic clans would gather for a great feast and award the Nessie Award to the clan who has sunk the most enemy ships at sea. Although the mystic Nessie was most frequently seen at Loch Ness, it was also rumored to be spotted roaming the salty ocean realms.

I created the general shape of character by trimming, sawing and sanding the provided parts. I then molded the muzzle, horns, tongue, scales, legs, and tail out of air drying clay. I also created some ships as accessories. I painted all the parts with acrylic paints and then super-glued them together.

And look - I made some tiny ships to go with it:
I'll see if I can fix it up some more later (for my own sake of mind) and take some photos with it outside.

*Now I'm off to relax and celebrate my birthday. I'm 22 today! I like the sound of being 21 better, but maybe this will be a better year nonetheless!

Happy Sunday to everyone!

Sunday, December 23, 2012

Happy Holidays

A little last minute holiday art :)

I've had so many ideas for this year's holiday cards, but alas - they didn't get executed in time. They'll be good to go for next year though =) But I did manage to make this couple of patterned words.

7.5 x 10.5"

about 5.25 x 4.5"
Pieces are completed on Bristol Smooth paper with: red 005 Prismacolor fine line marker, Kohinoor vermillion waterproof ink and white gouache. All and drawn, and touched up a tiny bit in Photoshop.

Merchandise available at my Society6 and RedBubble shops

And here are some other versions of "Happy Holidays"


Happy Holidays!

Friday, July 6, 2012

Patterned Pottery


So, a long time ago a couple of my friends and I went to a ceramics workshop to make and paint plates. Due to my scheduling difficulties I was only able to go and make my pieces, but was unable to paint them. In turn, when I finally had the time recently I painted them at home. Since I don't have a kiln at my disposal, I just decided to use regular acrylic paints and varnishes to decorate. I decided to let my pattern-crazed tendencies to take over the design of this piece, and I'm pretty content with the result.

I'll have to scout out some ceramic acrylic paints later though - because I can absolutely see ceramic plate painting becoming a new hobby!


inside

I wish we didn't have to carve out our names when making our bowls...but oh well


And that's what the bowl is supposed to be used for - as a hat, clearly


One plate piece down, one more to go!

Friday, December 23, 2011

Russian Patterns

Earlier this past semester for my Surface Illustration we were doing various pattern exercises and now, during my holiday I've made this Russian folk art pattern digital. Have a look! I have a few different colour versions here.

a coloured version of the design

black+red
Burgundy + red
white + red

an black outlined rendition
 See how I've put my patterns to use on RedBubble!
Almost Christmas time by the way!